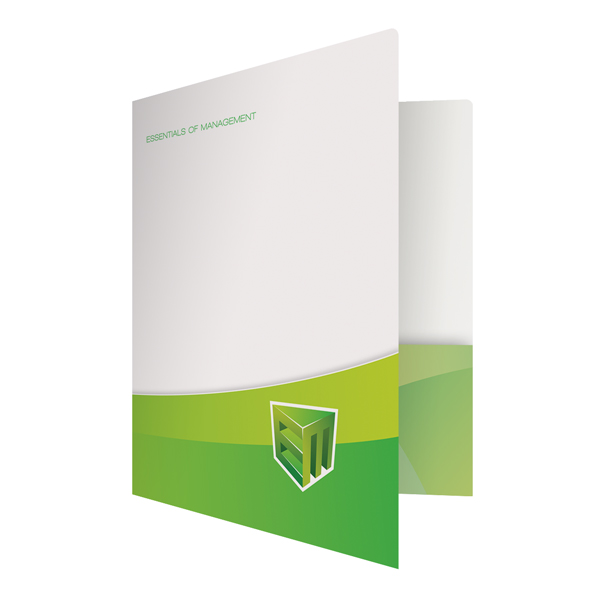
 Company Folders’ pocket folder design templates are free to download and customize however you like. To help out, we’ve assembled a handy tutorial to downloading, modifying, and making them your own.
Finding & Downloading Templates
All of our folder design templates can be found on the Company Folders website by clicking “Design Templates” in the footer area. Here are a few examples:
Modifying Templates
When you print your folder with Company Folders, our talented graphic designers can help you customize your folder template. The price of printing with us includes any of the following design customizations (with up to two individual sets of edits) at no additional charge.
If you’re the do-it-yourself type, follow the instructions below for some simple ways to edit your template to help it better match your brand.
Adding new fonts
To add a new font to your custom folder design, you will first need to download the font and install it onto your computer. Once the font has been installed, it will automatically be accessible for use in Adobe Photoshop, Illustrator or InDesign.
- Windows 7 and 8: Download the font and navigate to the folder containing the file. Right click the font file and select “Install.”
- Windows Vista: Navigate to the Control Panel from the Start Menu, select Appearances and Personalization, and then click on Fonts. Right click in the Fonts folder and select “Install New Font.” Navigate to the folder containing the file and select it.
- Mac OS X: Exit all applications. Locate the font files and drag them to one of the following folders:
- (As Administrator) /Library/Fonts/
- (As User) /Users/Library/Fonts/
- Mac OS 8, 9 and OS X Classic: Exit all applications. Locate the font files and drag them to System Folder>Font.
Editing default text
All text in the template design is on its own layer. Use the text tool to select the text and make any alterations to size, shape, color, font face and font style you desire. You will likely want to edit the default text with your contact information, company slogan, mission statement and other important marketing copy. If you don’t need the text at all, simply delete the layer.
Selecting print-ready images
All of the default images provided in the folder design template are from Veer, but you’re free to replace them with your own stock or custom photographs and illustrations. When selecting or creating images to go into your folder design, you must use files that are at least 300 dpi when printed at 100% size.
Before you purchase an image for your custom design, make sure you intend to print it at the same dimensions or smaller. If you have to enlarge the image to incorporate it into the template design, it will look distorted when printed.
Replacing default images
Replacing the default images in the folder design template is a different process depending on the program you use. However, no matter the program, it’s important to select images that are proportionally similar to the default images you are replacing.
- Illustrator/InDesign: All of the images in the template are embedded links. Open the Links window, select the image you want to replace from the menu, and click the re-link button. Then, select the new file you want to link to.
- Photoshop: To replace an image, find the appropriate smart object layer in the Layers window. Right-click it, click Replace Contents, and select the image you want to insert in its place.
Due to the unique layout and shape of some of our templates, it may be difficult for you to replace the images using Photoshop if you are not experienced with graphic design. If you have unique images you would like to use, we can add them for you, free of charge.
Adding your logo
To truly customize the template to match your brand, you will need to add your company’s logo and remove the placeholder logo. If your logo is a raster image, it must be at least 300dpi at 100% size to ensure the best results.
- Illustrator/InDesign: Select the placeholder logo and select Edit > Clear. You can also use the delete key or backspace key in Windows to delete the logo. Select File > Place and select your logo file.
- Photoshop: Select the layer containing the placeholder logo in the layer window and click Layer > Delete to remove it. Select File > Place and select your logo file.
What Else Can You Do With a Template?
Export an image
If a template features illustrations or vector artwork (including images that make up the folder’s background), feel free to extract them and use them elsewhere. This is pretty simple to do; just copy the elements you want and paste them into another file. You can also delete layers, leaving behind only the elements you want to keep, and “Save As” under a different file name.
For example, the “map” graphic in this Orange Travel Agency Folder Template could be placed in the background of a completely different design.
Export design effects
Several of our templates contain images that employ the use of smart objects to create special effects. You can click and drag the relevant layers into another project, then right-click and “Replace Contents” to apply the same effect to the image of your choice.
This Cruise Ship Adventure Presentation Folder Template uses a window effect to divide the ship photograph into several round-cornered pieces. You can replace the contents of the associated smart object to create a similar-looking effect with your own photo or illustration.
Special Notes
Image and font licensing
Our templates come pre-loaded with font files and images that have been licensed for use by Company Folders. You will not incur any additional licensing fees when you print your design with us, and the watermarked images will be replaced with the real licensed images.
Should you decide to print your final folder design with another printer, you will have to purchase the license for the default fonts and images separately or replace them with your own files.
Ensuring your project is print-ready
Before you print your new folder design, download our Folder Design Cheat Sheet and follow the step-by-step guide to ensure your project will produce the best possible results with our presentation folder products and folder dieline templates.
Feedback
We love to hear your feedback on how we can make our design templates better, as well as what types of templates we should make next. Please share your ideas in the comments below!
This post is a part of our Presentation Folders 101 product guide.

